

Table of contents
Jenkins
Jenkins is an open-source automation server that is widely used for building, testing, and deploying software projects. It is one of the most popular tools in the field of continuous integration and continuous delivery (CI/CD).
Steps to install Jenkins
sudo apt-get update
- It is mandatory to have Java in our system before installing Jenkins
sudo apt-get install openjdk-17-jre
- check the version of Java
java -version
- package to install Jenkins
curl -fsSLhttps://pkg.jenkins.io/debian-stable/jenkins.io-2023.key | sudo tee \\
    /usr/share/keyrings/jenkins-keyring.asc > /dev/null
echo deb [signed-by=/usr/share/keyrings/jenkins-keyring.asc] \\
    <https://pkg.jenkins.io/debian-stable> binary/ | sudo tee \\
    /etc/apt/sources.list.d/jenkins.list > /dev/null
sudo apt-get update
sudo apt-get install jenkins
jenkins --version
[Note: Jenkins is run in port 8080 so, to run Jenkins in our system we need to set a security firewall to give access to port 8080]
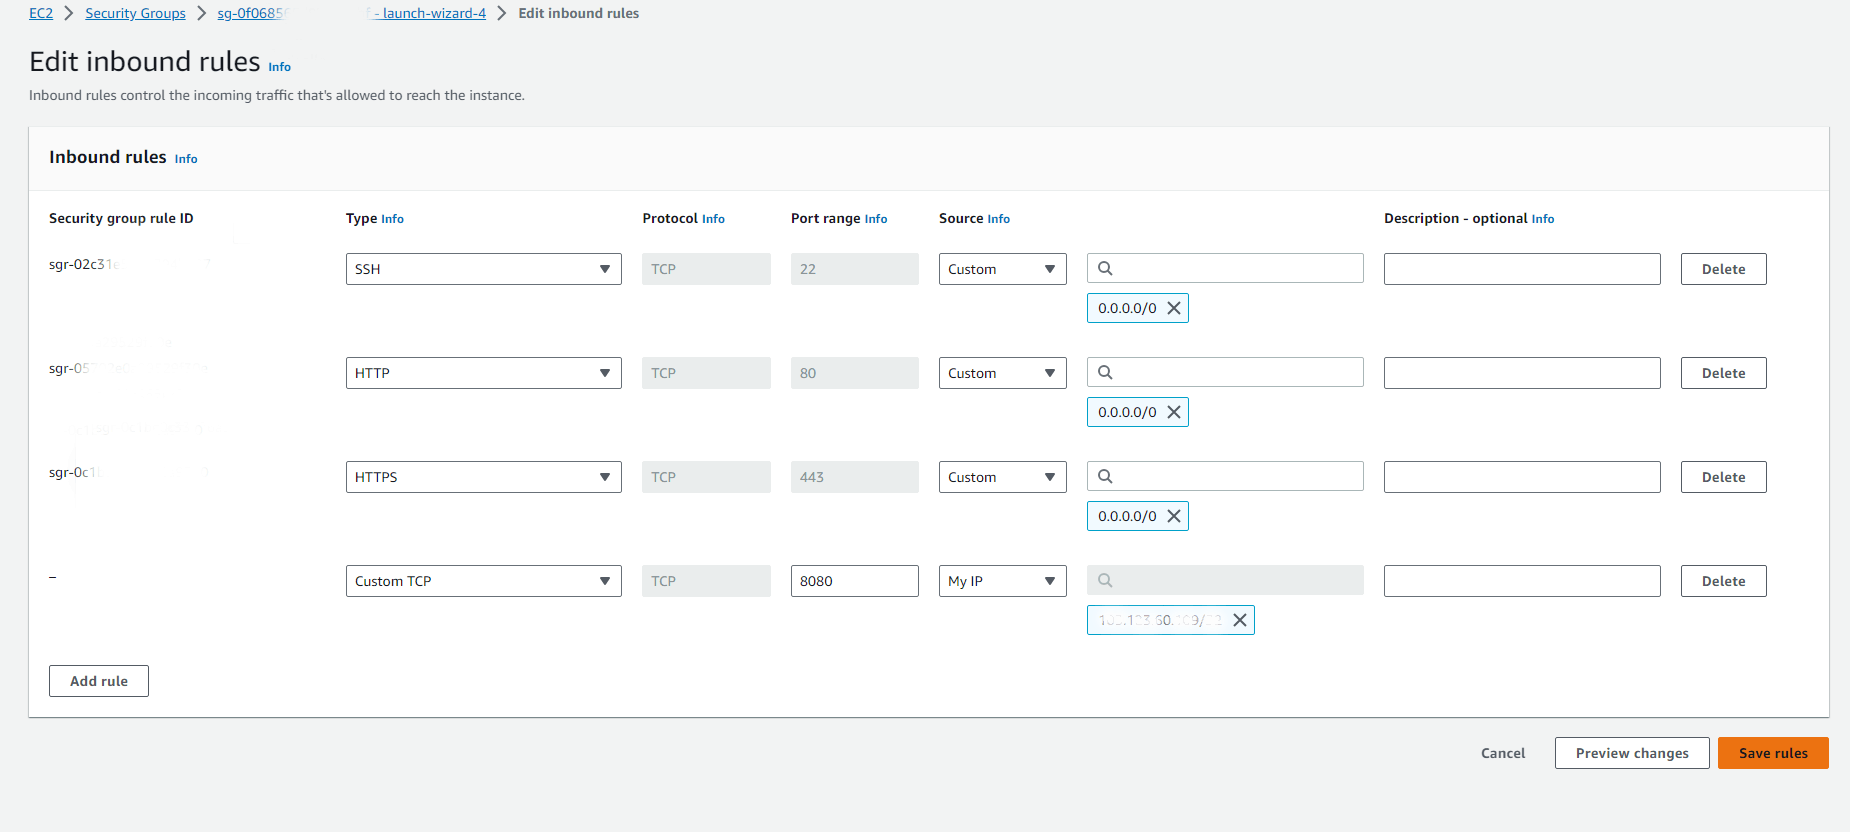
- run public-id with a port on the server
public-ip/8080
- go to the project location and paste the path
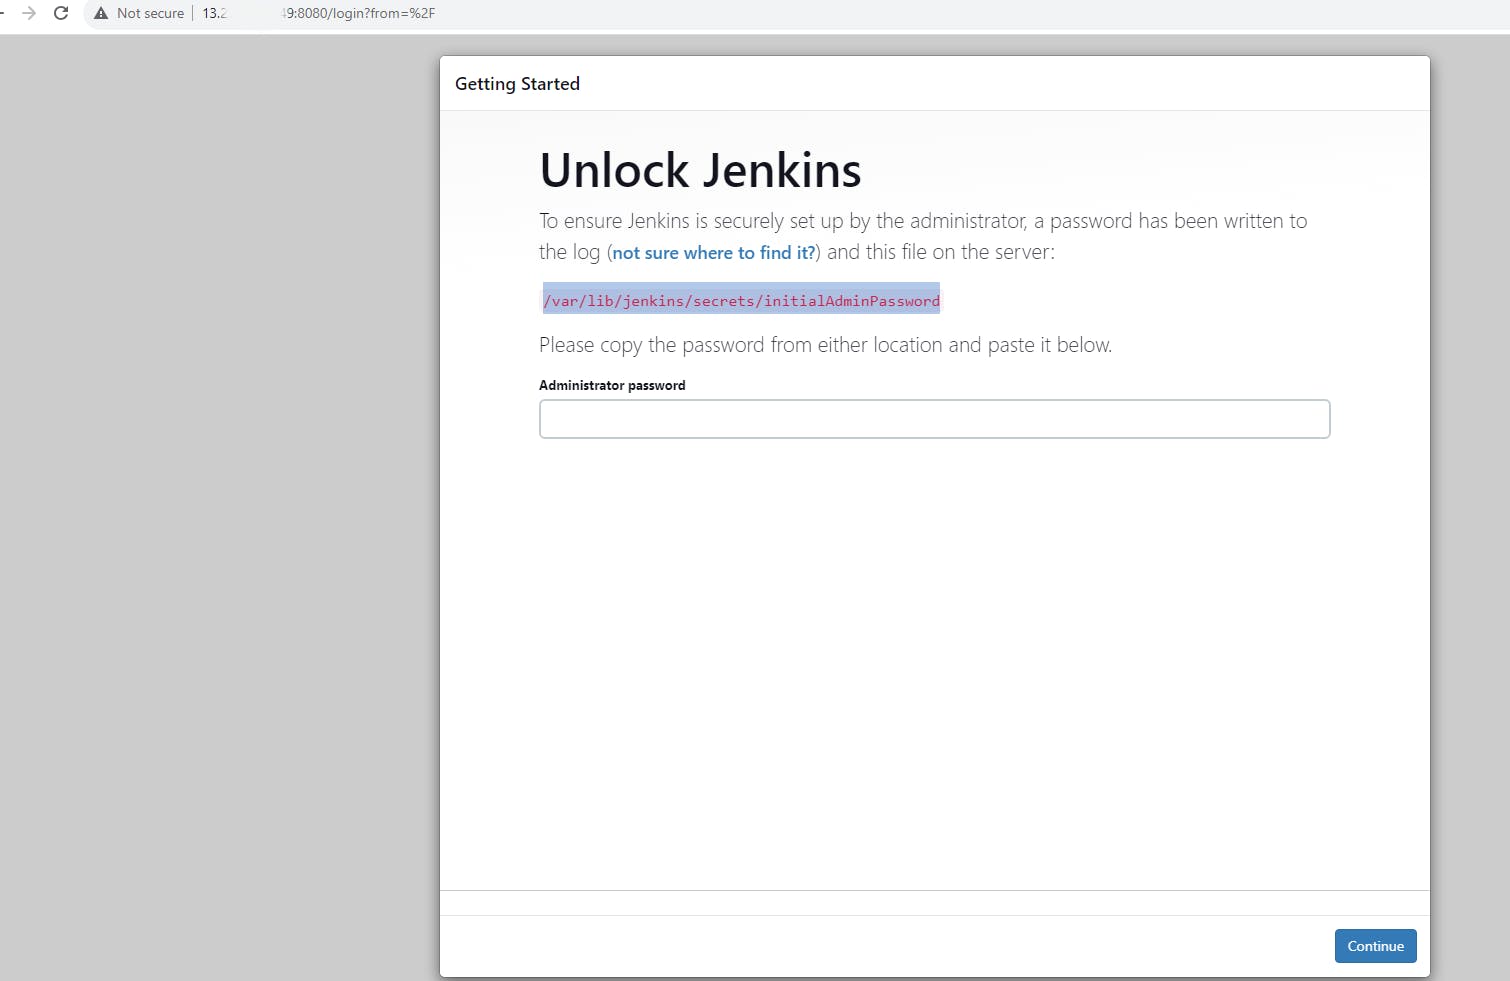
sudo cat /var/lib/jenkins/secrets/initialAdminPassword
Now, it looks like
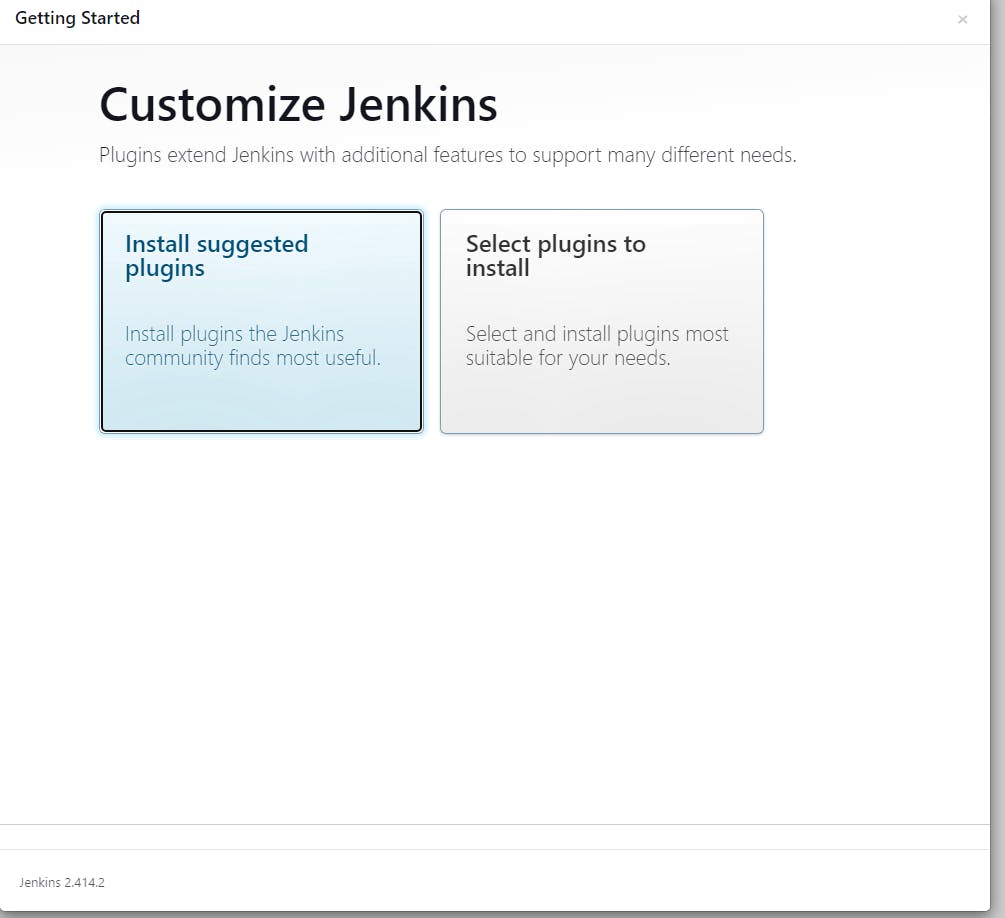
click on Install suggested plugins
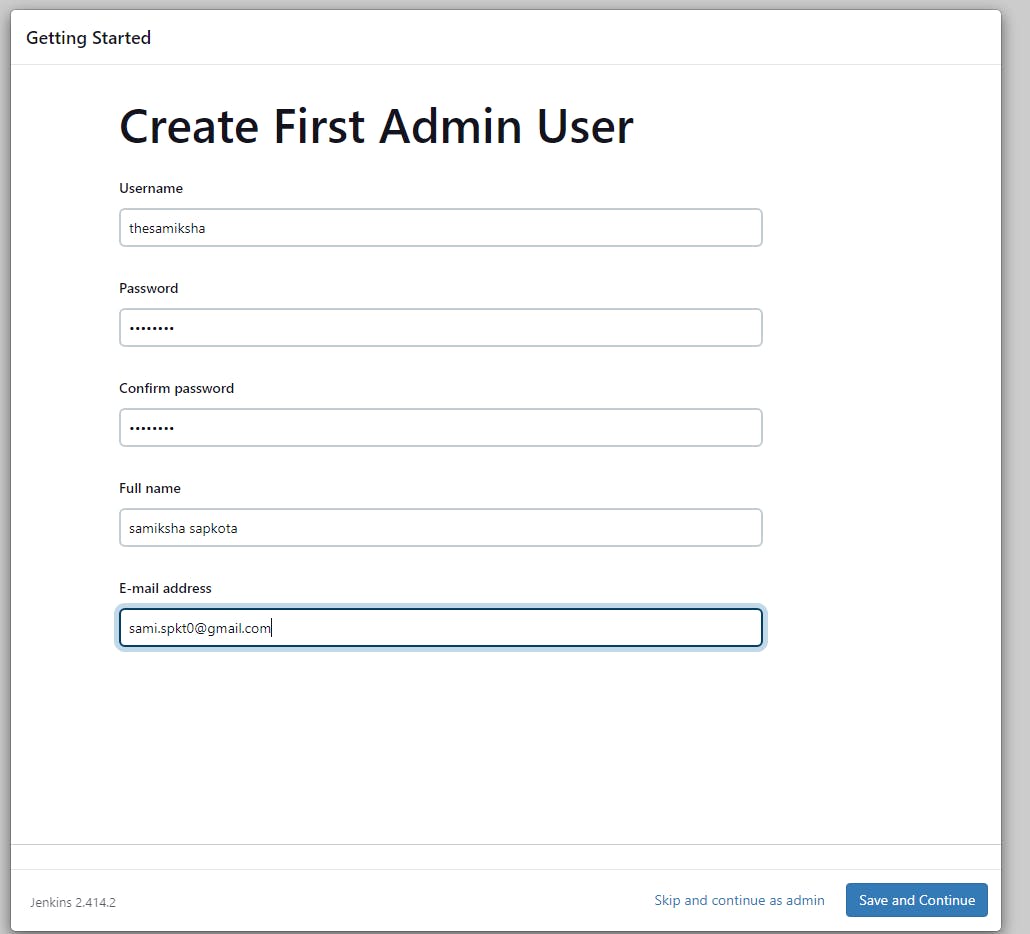
create a first admin user
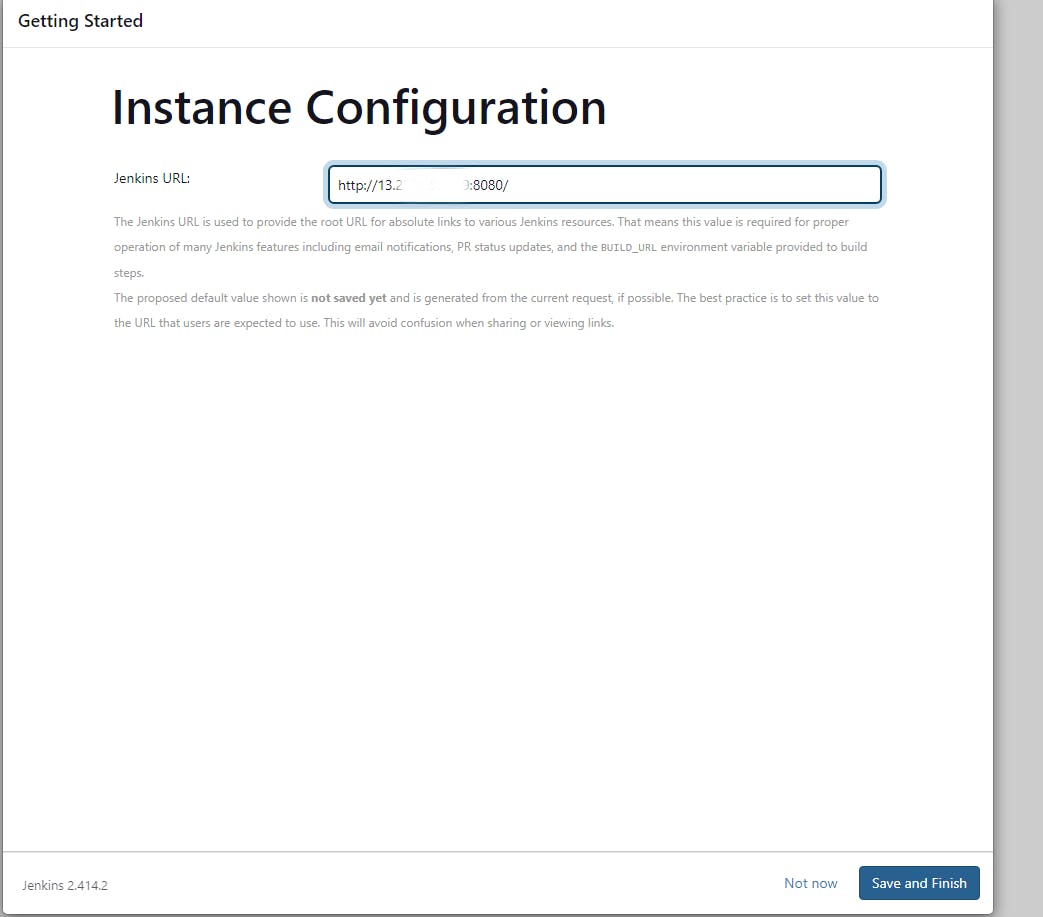
save and continue
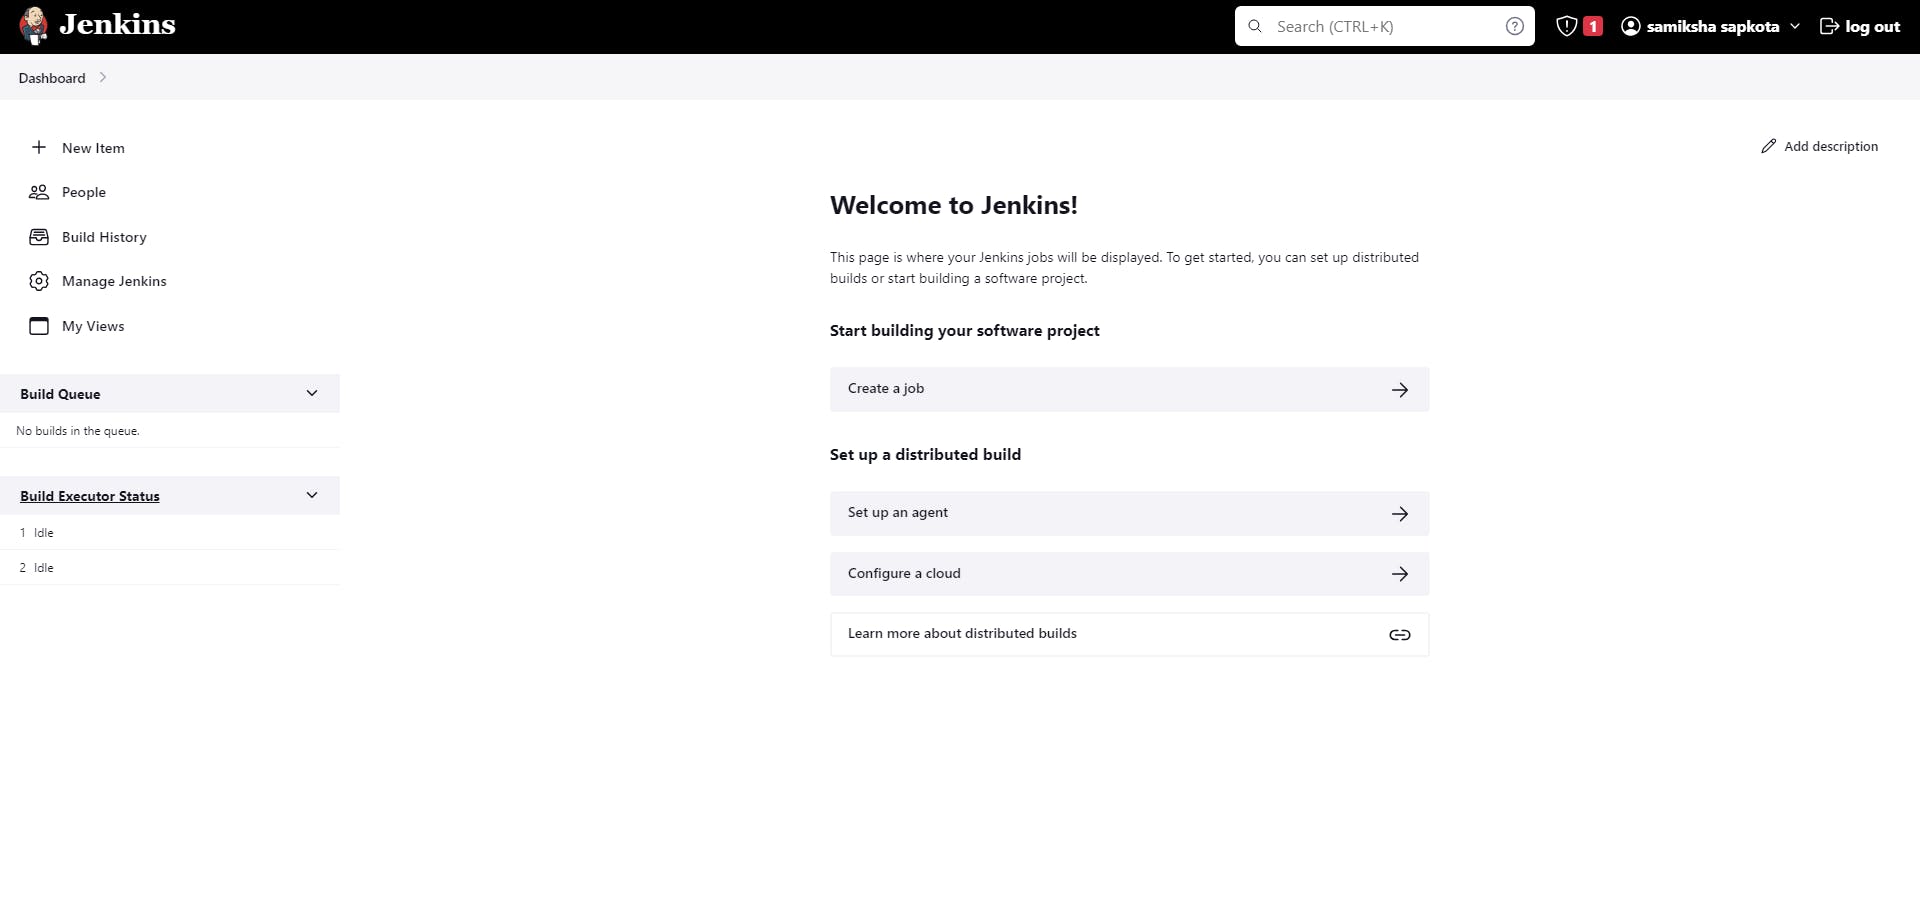
Finally, we are at our Jenkins