Step1: Install Java
Tomcat requires Java to be installed on the server so that any Java web application code can be executed. We can satisfy that requirement by installing OpenJDK with apt-get.
sudo apt-get update
Install the Java Development Kit package
sudo apt install default-jdk
java --version
The output should be similar to this:

Step2: Install Tomcat
Find the latest version of Tomcat on the Tomcat Downloads page. Under the Binary Distributions section, then under the Core list, copy the link to the “tar.gz”.
For security purposes, Tomcat should run under a separate, unprivileged user. Run the following command to create a user called Tomcat:
sudo useradd -m -d /opt/tomcat -U -s /bin/false tomcat
First, navigate to the /tmp directory. This is a good directory to download ephemeral items, like the Tomcat tarball, which we won’t need after extracting the Tomcat contents:
cd /tmp
Use wget to download the link that you copied from the Tomcat website:
wget https://dlcdn.apache.org/tomcat/tomcat-9/v9.0.82/bin/apache-tomcat-9.0.82.tar.gz
Then, extract the archive you downloaded by running:
sudo tar xzvf apache-tomcat-9.0.82.tar.gz -C /opt/tomcat --strip-components=1
Step 3: Update Permissions
Since you have already created a user, you can now grant Tomcat ownership over the extracted installation by running:
sudo chown -R tomcat:tomcat /opt/tomcat/
sudo chmod -R u+x /opt/tomcat/bin
In this step, you installed the JDK and Tomcat. You also created a separate user for it and set up permissions over Tomcat binaries. You will now configure credentials for accessing your Tomcat instance.
Step 4: Create a systemd Service File
We want to be able to run Tomcat as a service, so we will set up systemd service file.
Tomcat needs to know where Java is installed. This path is commonly referred to as “JAVA_HOME”. You can look that up by running the following command:
sudo update-java-alternatives -l

With this piece of information, we can create the systemd service file. Open a file called tomcat.service in the /etc/systemd/system directory by typing:
sudo vi /etc/systemd/system/tomcat.service
Add the following lines:
[Unit]
Description=Tomcat
After=network.target

[Service]
Type=forking

User=tomcat
Group=tomcat

Environment="JAVA_HOME=/usr/lib/jvm/java-1.11.0-openjdk-amd64"
Environment="JAVA_OPTS=-Djava.security.egd=file:///dev/urandom"
Environment="CATALINA_BASE=/opt/tomcat"
Environment="CATALINA_HOME=/opt/tomcat"
Environment="CATALINA_PID=/opt/tomcat/temp/tomcat.pid"
Environment="CATALINA_OPTS=-Xms512M -Xmx1024M -server -XX:+UseParallelGC"

ExecStart=/opt/tomcat/bin/startup.sh
ExecStop=/opt/tomcat/bin/shutdown.sh

RestartSec=10
Restart=always

[Install]
WantedBy=multi-user.target
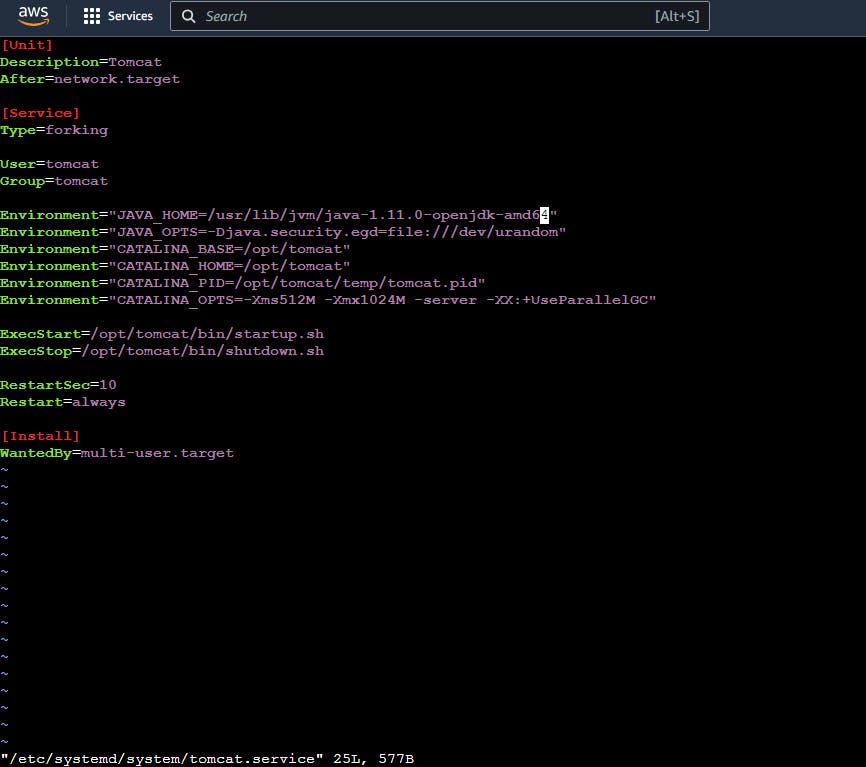
Reload the systemd daemon so that it becomes aware of the new service then start the service and check its status:
sudo systemctl daemon-reload
sudo systemctl start tomcat
sudo systemctl status tomcat

Step5: Create Tomcat User
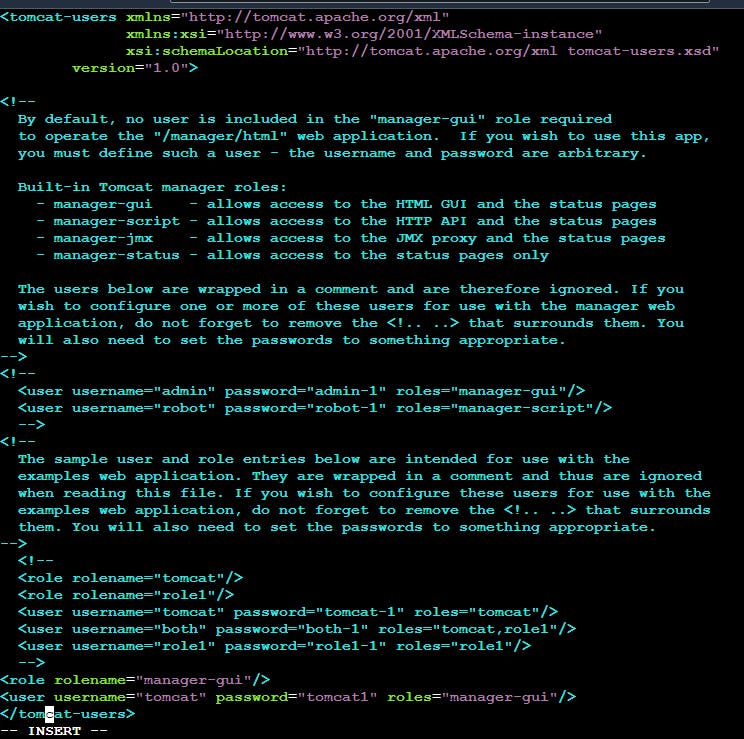
Open the tomcat-user.xml file and create a new user as shown below:
sudo vi /opt/tomcat/conf/tomcat-users.xml
Add the following lines before the ending tag:
<tomcat-user>
<!--
Comments
-->
<role rolename="manager-gui"/>
<user username="tomcat" password="tomcat1" roles="manager-gui"/>
</tomcat-users>
Step6: Enable Remote Tomcat Access
Comment the valve definition of manager, as shown
sudo vi /opt/tomcat/webapps/manager/META-INF/context.xml

Similarly,
Comment the valve definition of Host-manager, as shown
sudo vi /opt/tomcat/webapps/host-manager/META-INF/context.xml

Step 7: Download Jenkins stable version war file
find the latest version of Jenkins at War Jenkins Packages, Download the Jenkins war file using the wget command:
cd tmp
wget https://updates.jenkins.io/download/war/2.427/jenkins.war
Deploy download Jenkins war file into the tomcat webapps folder
sudo cp jenkins.war /opt/tomcat/webapps/
Restart tomcat service
sudo systemctl restart tomcat
Step 8: Accessing the Web Interface
Tomcat uses port 8080 to accept HTTP requests. Run the following command to allow traffic to that port:
sudo ufw allow 8080
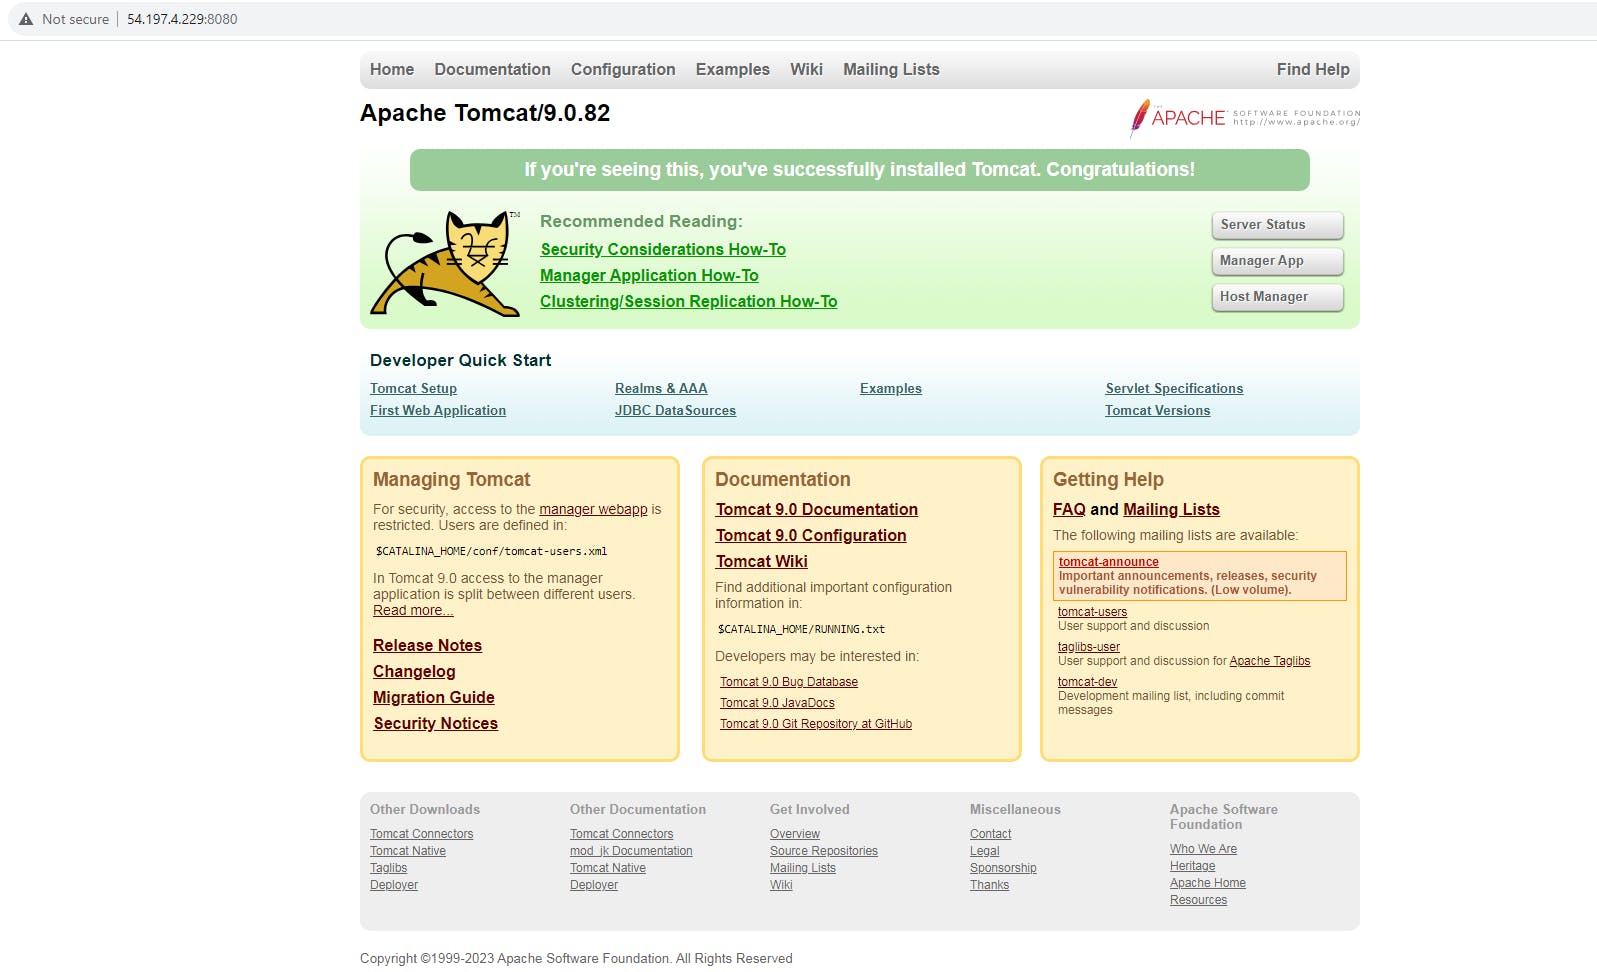
You can now access Tomcat by navigating to the IP address of your server in the browser
http://your_server_ip:8080
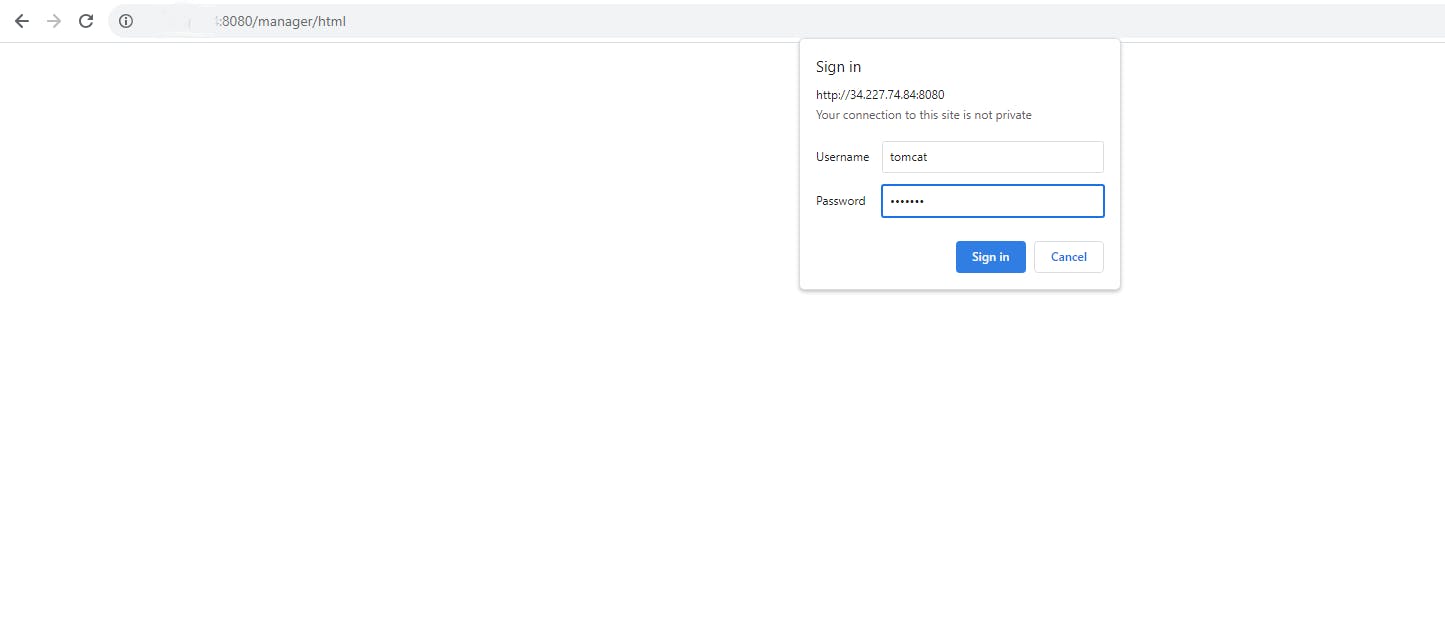
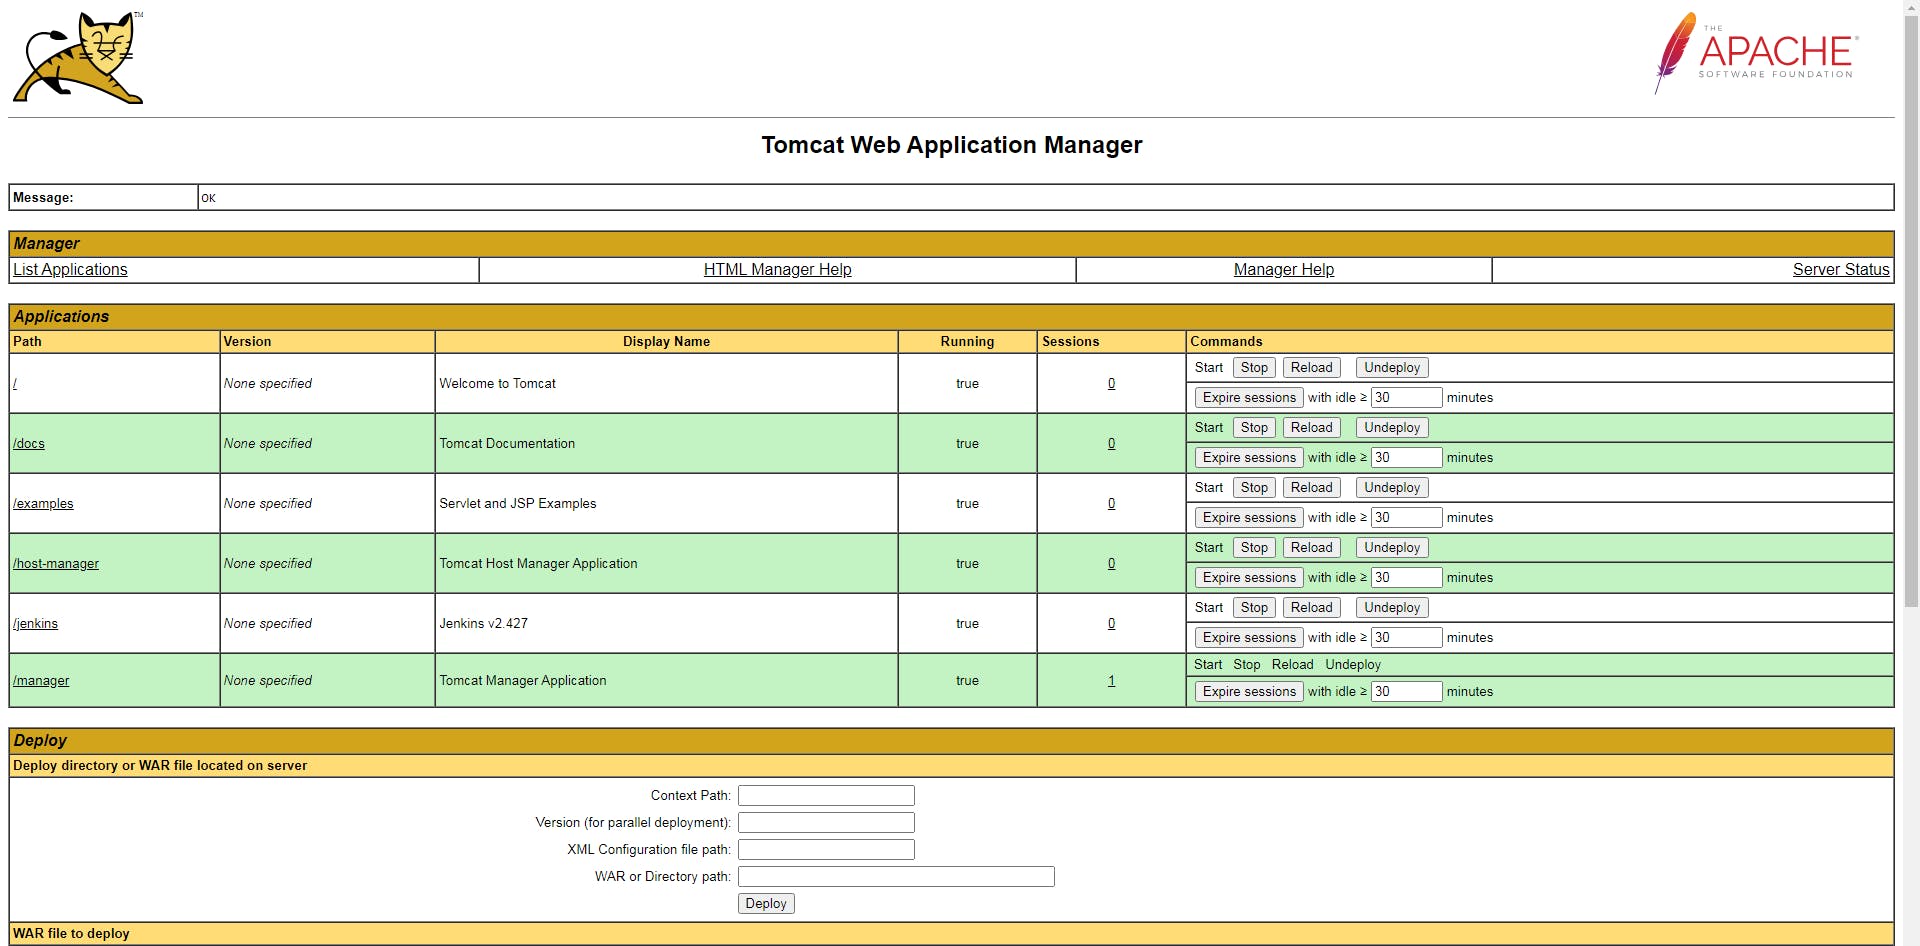
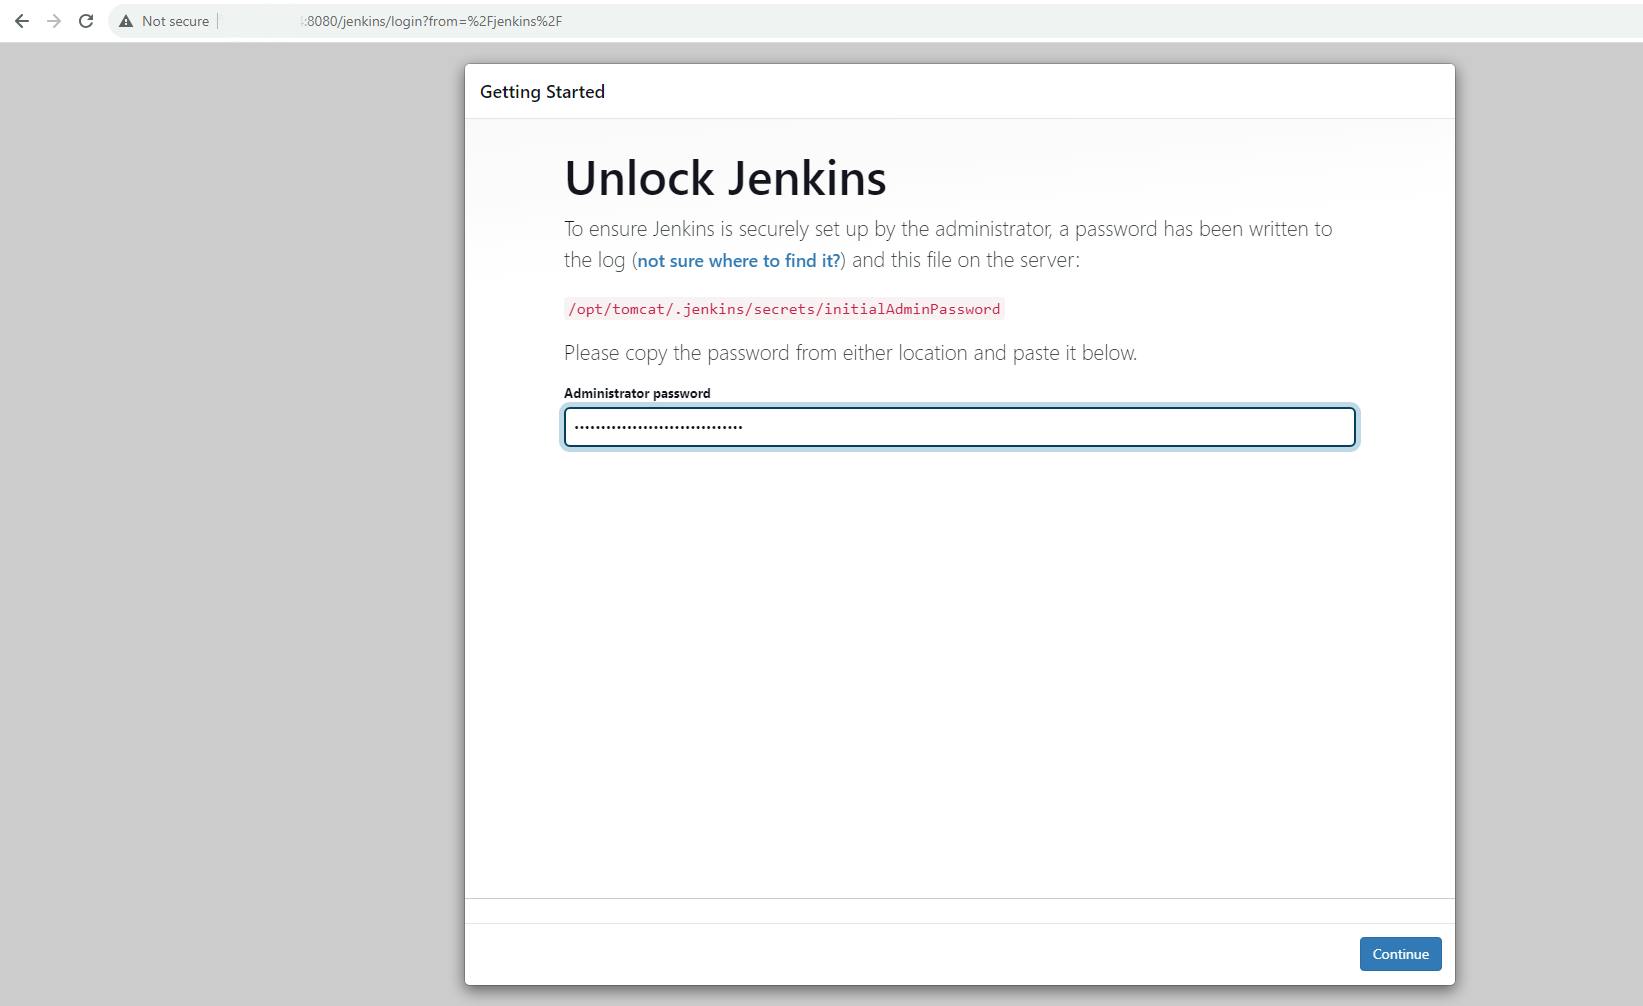
You can access jenkins by navigating to the IP address:8080/jenkins in the browser
http://ip-address:8080/jenkins/
